People often ask me how I do this whole make-it-at-home thing. Do I have time management tips? Do I cook all the time? (Well…okay, yes) Am I exquisitely organized? (No) and do I still buy food from the store (YES! For the last time, yes! If you see me at the supermarket, there is very likely a bag of potato chips in my shopping cart!) I know there are people out there who haven’t bought anything that wasn’t from the bulk section of the health food store in years, and I think that’s wonderful. But my first piece of advice to anyone wanting to lower the amount of processed and packaged food in their kitchen is always the same: do what works for you, and make the foods that inspire you. I try to follow my own advice, too.
In my kitchen, there are the foods that I always make every week. You’ll always find a gallon jar of granola on the shelf and homemade bread in the breadbox. In the fridge, there’s yogurt (started in the crock pot, these days), nut butter (usually peanut), creme fraiche, and a bunch of open jars of jams, chutneys, and whatever other condiments I’ve been working on. And sure, beyond that, there are often extras. A batch of ricotta, pizza dough, fresh pasta, or mayonnaise. It depends on the day or the week. Other times, their store-bought counterparts might make an appearance, too.
So how do I make the basics in the midst of everything else? To be entirely honest, it’s usually that I drop/forget/ignore what I’m supposed to be doing and instead, I make granola. But I do have a few tips I can share, and I’m guessing you might, too? Here’s a start from me:
1. Set aside one time of the week to make your basic staples. I find that I get into trouble when I try to fit these projects into tiny periods of time when I’m also doing a million other things (sound familiar?) So if it’s at all possible, set aside a couple of hours a week that are entirely devoted to making whatever staples you want for that week. Even if these hours are late at night, treat yourself to whatever you love during that time. Listen to a book on tape or podcast, kick everyone out of the kitchen–whatever you need. I give you permission.
2. Double (or triple) your recipes. For anything that can be stored or frozen, make lots of it. Label and date your containers, put them on where you can find them (here’s where an organized freezer or pantry comes in handy), and pull them out when your current supply is depleted.
3. This is the big one: choose projects that have a low active time. When I look at the list of foods I manage to make every week, they have one thing in common: they all require just a few minutes from me. Sometimes it’s hard to remember that you can whip up a batch of granola in the same amount of time it takes to fry an egg and make a piece of toast. It sits in the oven for much longer, but by then your work is done, and all you have to do is enjoy the smell in your house!
Here’s one more snack that fits in that category.
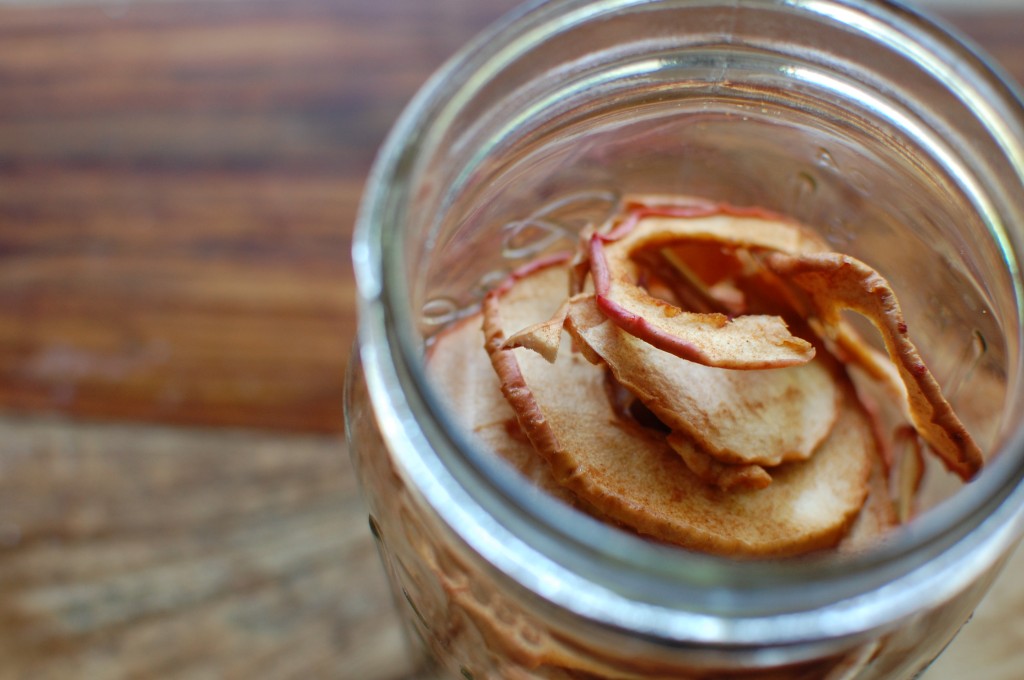
Let me first tell you what these are not. They are not dried apples. They are not a particularly good way to preserve apples, because no matter what you do, THEY WILL NOT LAST. Everyone will eat them far quicker than you thought they would. The second batch of these I made, I swore I would squirrel them away to be rediscovered at a later date when there was no fresh fruit around. But then, we had a bunch of friends over, and one, a particularly charming 3 year old, insisted on looking to see what was in my oven (cooled by that point). I couldn’t resist her, and so then she spent the rest of the night opening the oven, peeling chips off the parchment, and happily crunching them around the kitchen. She showed her treasure to the other kids, and then there was more crunching. I’m a sucker for a charming 3 year old. I can’t hold back. These are just meant to be eaten, and the sooner you accept that, the better.
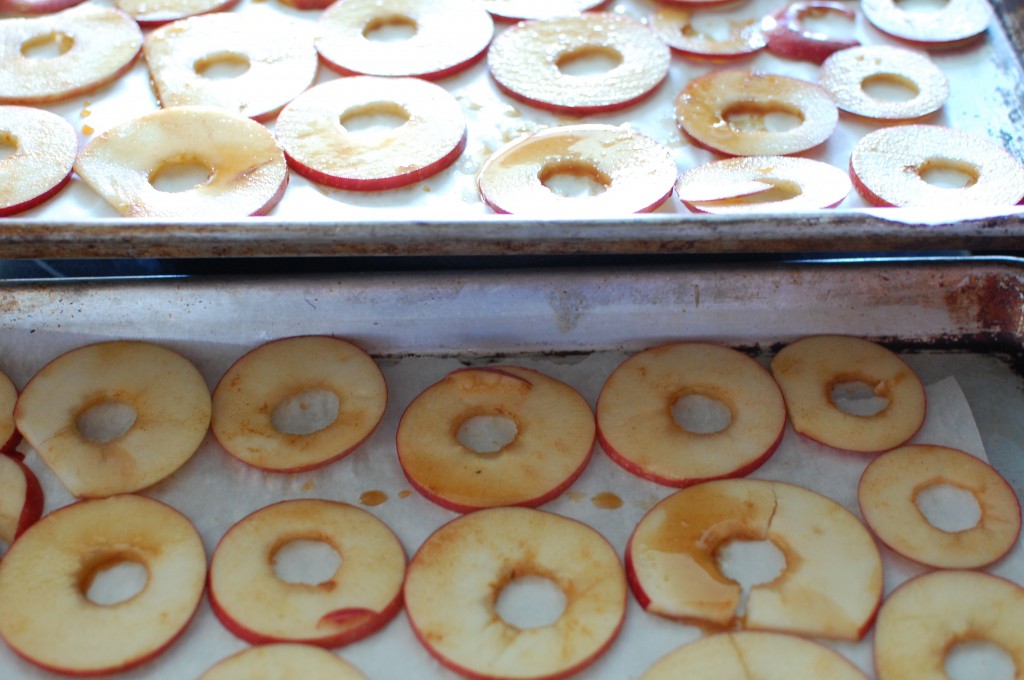
In the magic that is Instagram, these chips came to me in a particularly impressionable and hungry moment from Aimee Wimbush-Bourque. They were just beautiful, all stacked and lovely, and I thought about them for a full day before I got out my apple corer. Aimee wrote about them here on Eating Rules (of October Unprocessed fame–yeah! I’m rooting for you all!). My recipe is slightly different, as I was just cooking from the beauty of her photograph, but follow whichever one you follow, you’ll get apple chips.
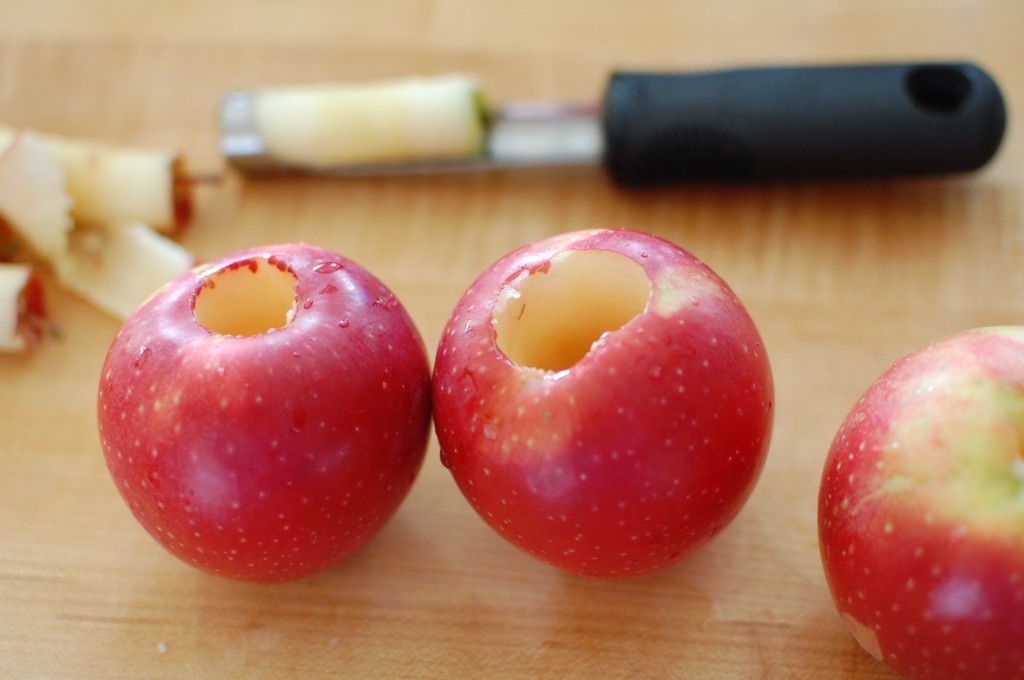
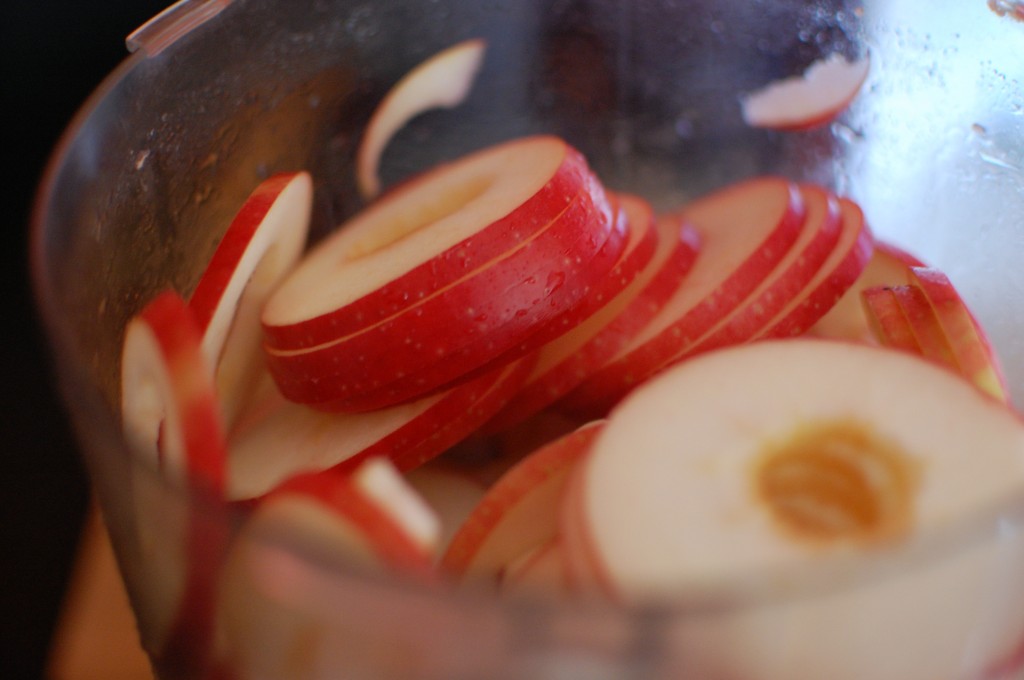
The trick is to have right tools, and then there is hardly any prep time. An apple corer is useful here (and a worthwhile investment if you ever make baked apples). As for the slicing, you have a few options. You can, of course, slice by hand. You can also use a mandoline set to 1/8 inch. But my favorite when it comes to low active time is the food processor. If you have the 4mm slicing disk that comes with most Cuisinarts, that will do the trick. It’s larger than 1/8 inch, but it’s still a decent thickness for these chips, and the added size just means they need a bit longer in the oven. If you’re using the food processor, choose small apples so they can fit easily.
Before we get to the recipe, I have a few announcements! Ready?
1. For you in the Berkshires or nearby, I’m teaching a cheese class at the Nutrition Center in Great Barrington in conjunction with the Berkshire Coop market next Thursday, November 1 at 7:00. We’ll be covering ricotta and mozzarella, as well as yogurt basics. Call the Coop to register.
2. For those of you in New York City, I’m coming to see you! On November 4 at 2:00, I’ll be at the Brooklyn Kitchen, signing, demonstrating (and feeding you) pop-tarts, and talking about fitting homemade snacks into a busy week. This is a family friendly event. Call them to register!
3. I have a few new features on the site I just wanted to tell you about. There are 4 years (!) of posts in here, and at this point, they’re really only searchable through the recipe list. So I wanted to create a few new tabs for posts that weren’t necessarily recipes, and now we have favorites and travels. They’re both pretty basic–no fancy pictures or special organization or anything–but I’m hoping it might get a little easier both to search for what you need and just to find a past post that might speak to you. Let me know what you think, or there’s anything else you’d like to see up there.
And now… maple apple chips.
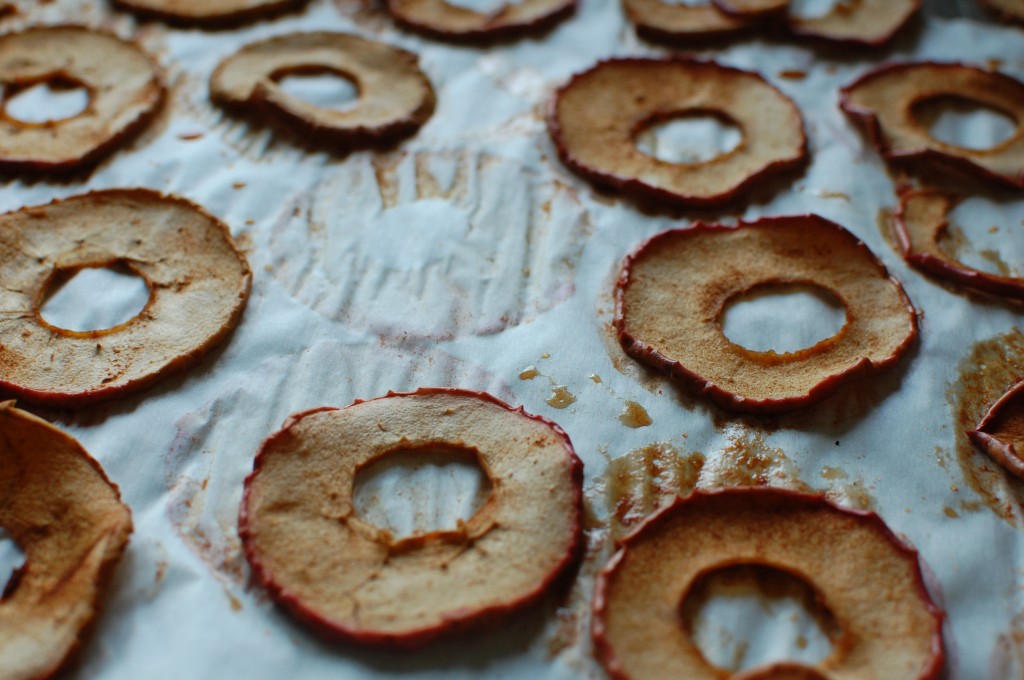
Maple Apple Chips
adapted from Aimee Wimbush-Bourque (of Simple Bites, but writing on Eating Rules)
6 small crisp apples (I used Spencers, but any super crunchy apple will do)
2 tablespoons lemon juice (from 1 lemon)
1/4 cup maple syrup
1 teaspoon ground cinnamon
1. Preheat the oven to 200 degrees, or as low as your oven will go that’s close to 200. Line 3 baking sheets with parchment paper. (The parchment is important- don’t skip it!) If you only have a 2-tray capacity in your oven, you can cut the recipe in half if you like.
2. Core the apples. Do not peel them. Slice them to somewhere between 1/6 and 1/8 inch with the slicing blade of a food processor, a mandoline, or a knife.
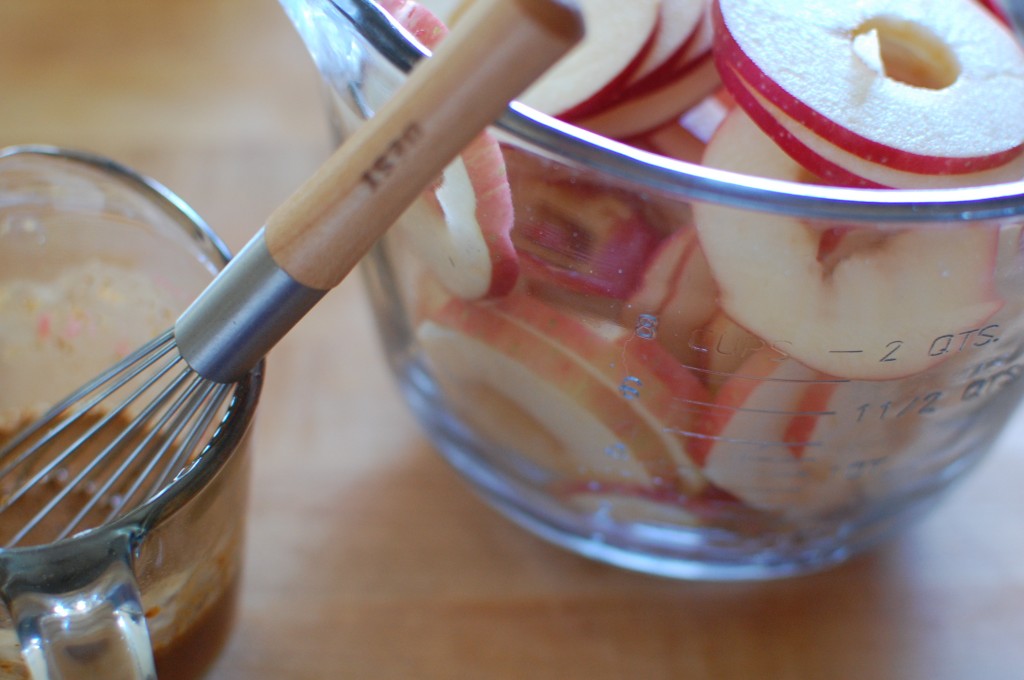
3. In a large mixing bowl, combine the lemon juice, maple syrup, and cinnamon. Toss the apple slices in the mixture, and lay them out in a single layer on the prepared baking sheets. Pour any excess maple mixture over the apples.
4. Bake for 3 to 4 1/2 hours, or until the chips have just a touch of chew to them. The timing will vary depending on the thickness of the slice and the water content of the apple, so start checking after 2 hours or so. Leave the chips in the oven to cool, and they will continue to crisp up. Store in an airtight jar.
An entire class on cheese!? I’m so jealous! Love all the food tips – I always try to double recipes and cook just once on Sunday for the week.
We’ve been making these by the oven-fulls– my favorite so far is with Cortland apples. Thanks to a sharp mandoline, we can whip up a batch pretty quickly.
Thanks for the shout out. =)
Thank you for the inspiration, Aimee! That photo was just too tasty not to propel me to slicing…
Oh, boy! A new idea for the too-cute three-year-old at our house, who never met an apple she didn’t want to munch!
I like your simple organization suggestions, too…Maybe this Old Dog can finally learn a new trick or two 😉
Oh, Marie- for an apple lover- this will take it to the next level! Make lots and lots, and maybe they’ll last a few days!
Mom and I made ricotta yesterday and today I’ll use the cheese to make gnocci. Caring for the aged makes days/weeks unpredictable; it’s taking bits and pieces out of any given day to make weekly staples that works well around here.
We are very excited you decided to write another book, no matter how long it takes, we will wait.
Oh, thank you JoAnn… and I love hearing about you and your mother’s adventures in the kitchen. Food can be so healing (both making and eating), and I’m so glad you can find times in your day to make such good food for you both. Happy gnocchi making!
Oddly, I have nothing to say but “Yum!” We dont’ have trees ourselves, but a friend has a few in his backyard and has invited me to pick some apples! I hope they’re the right kind of apples. The varieties that you and other readers mention are not apples that I recognize so I may need to do the trial and error thing. Crisp is the key! Will this recipe work with apples that are not necessarily the kind you would eat off the tree? Meaning: does the time in the oven and the maple syrup take the sour out of some kinds?
Hi Jennifer! Really any apple will work, but the crisper the better! And yes, the maple syrup will take the sour out, although I might up the quantity a bit if the apples are super sour.
Yogurt in the crockpot?? I use your recipe with my yogurt maker but I am intrigued by you post and of course I will be making the apples. I do basic ones in the dehydrator and they never last more than a day so these will probably disappear even faster. Thanks!!
This is one of my favorite of your posts. It was fun to read and informative and affirming :0) I am anxious to make the apple chips. Thank you for all the wisdom/advice/humor/info,etc. that you impart each week. You are wonderful!
This is not in response to the apples, but I was at a thrift store the other day and found a Cuisine yogurt maker (the one with the glass jars) for only $8. I passed it up to ‘think about it’. It’s been nagging at me ever since. I want to try it, but I’m just a little apprehensive. Any encouraging words before I invest $8 (ha!)?
Oh, Whitney- I’d go for it! I’ve loved mine for years, and I only use the crock pot these days because I have so many people eating yogurt in my house, and I need to make lots. But I thing that it’s really the best of the yogurt makers, and the worse case scenario is you give it back to the thrift store, right?
OK, last week I finally finished up with my apples, here in northern Michigan everyone else had a bad apple year, but not us, we had a bumper crop, so I did apple pie filling, apple butter, applesauce, apple juice and apple chips (just plain chips Yummy but yours sounds so much better), lol what will my honey say when I tell him I want to buy some more apples….
I love this one Alana! My favorite time each day is late at night, after the kids are in bed, when I get my kitchen to myself – cleaning yes, but mostly cooking and planning and thinking! We make bread a few times each week, and I am always amazed at how little time it actually takes – especially now that I have relaxed enough to let my kids “help” with their own little balls of dough 🙂 Now – those apple chips look amazing. I am imagining little hostess-gift jars (that top photo is so pretty) but I guess I shouldn’t get my hopes up that any will be left in the house … not with all the hungry apple-lovers I have about …
THANK YOU, THANK YOU for this post! I have been trying to stick to making homemade staples, but with grad school/full-time job/etc., I don’t always have the time. And then I feel so DARN GUILTY. Thank you for the tips and for the advice to make what inspires you. Your cookbook inspires me and I hope to someday add more to my list of what I have time to make every week. Thanks again, Alana!
Oh Jullian, I always say, get the guilt out of the kitchen! And you know I’m saying it as much for myself as for you… always a good reminder all around.
These do look too tasty to last long, but what would your storage suggestions be? Room temp or fridge? How many days?
Hi Ellen! I must admit, they’ve never lasted long. But you can store them at room temp in an airtight jar, I’d think for at least 6 weeks. I’ll update when I have more details!
hmm, i tried to post a comment last night, but it seems to have gone into the ether. at any rate, we are loving these chips! i’ve made two batches already – the original version above and another round with honey & ground ginger. both delish. and this was my excuse to finally invest in a mandolin!
one question – the first batch stuck to the parchment terribly. we were able to peel paper off most pieces with a paring knife but some were not redeemable. any suggestions?
Hi Jen- I’m sorry- this seems to have gone into my spam, but I just rescued it! As for sticking to the tray… I experimented to see if parchment was necessary, and it absolutely was–I experienced the crazy stick too! But sticking WITH parchment? I haven’t experienced that. (Someone else, please jump in if you have!) How about just giving the parchment a little bit of oil? I’d think that between the parchment and the oil, nothing would stick. (and honey and ginger- yum…)
It was strange to have them be so stuck-on, when parchment is usually the answer to preventing sticking! With the honey ginger batch, I flipped all the slices part way through and they didn’t stick. I think they were just dry enough at that point that when I moved them around, they didn’t re-adhere. Now I’m wondering if a molasses version would work. Would the flavor be too strong, do you think?
Hi Jen. i was actually thinking about trying a batch with pomegranate molasses, which I think would be really delicious. I’m worried that traditional molasses might be a little too intense, but if you try it, let us know!
Hi Jen!
I had the same problem, but realized I started the oven, which auto-set it for 350, and I forgot to lower to temp to 225ish, which is the sweet spot in my oven. That’s the only time I’ve had that happen. I also use the unbleached parchment, but I don’t know how much that really matters.
The other thing, now that I think about it, is that now whenever we make our version of these, I mix maple syrup with some real sorghum (not the fake stuff mixed with molasses, the real deal from the farmer) and a robust shot of vanilla. Put in 3 tsp of apple cider vinegar, dash of salt and cinnamon and really get the apple slices wet with it. Maybe making it a little thinner with the vanilla and vinegar helps, I don’t know.
They crisp up really nicely out of the oven, but never seem to be done until I actually pull them out at about 3.5 hours. If I wait until mine look “done,” they are trashed by the time they cool off.
Hope that helps!
Alana, love the book and your blog, best wishes to you and family!
Pahahah! I always see these in the supermarket and never thought to make them at home.
This is a really lovely recipe for the perfect autumn nibbles 🙂
Love the blog!
These have totally rocked my world – I have made 3 batches in the last 5 days – they disappear instantly – and I’m guilty for much of that. This is another one that I am adding to the usual snack rotation. Thanks!
Hooray! I agree- I’m not sure why something so simple (almost a dried apple!) is so fantastic, but it’s true- they disappear over here withing minutes, too.
Hi Alana. Long time reader, first time commenter. I am allergic (or intolerant, whatever) to raw apples. I have to eat them cooked, but apple sauce is too mushy for my taste. This recipe is perfect for me, it tastes like fresh apples, but without the offending texture. Thanks to you and Aimee for the recipe.
Hi Alana,
I use several of your recipes on a regular basis. Super excited to try the maple apple chips! Do you think they would work in a dehydrator or should I opt for the oven? I do make plain apple chips that turn out lovely in the dehydrator, just wondering about the addition of maple syrup.
Hi Missy, It’s actually on the list for me to try to do this in the dehydrator this week and see the two compare. I’ll let you know as soon as I do- or if you try them in the dehydrator, will you let me know how it goes? I feel like it’s going to be hard to get that good crisp, but I want to try.
I was too excited to wait yesterday after I posted my question. They turned out delicious! I was worried about the crunchiness as the ones I normally make end the chewier variety. I think the addition of the sugary maple syrup helped to make these deliciously crunchy even in the dehydrator! On my second batch right now!
I made a version of these last week to make my house smell good before an open house. We got two offers, and I had a yummy snack when it was all done. Magical apple chips!
SUCH a good idea! These do create the most amazing smell in the house, and it sticks around too. You’ll just have to tell teach the new owners the recipe, right? Congrats on the house sale, too 🙂